|
|
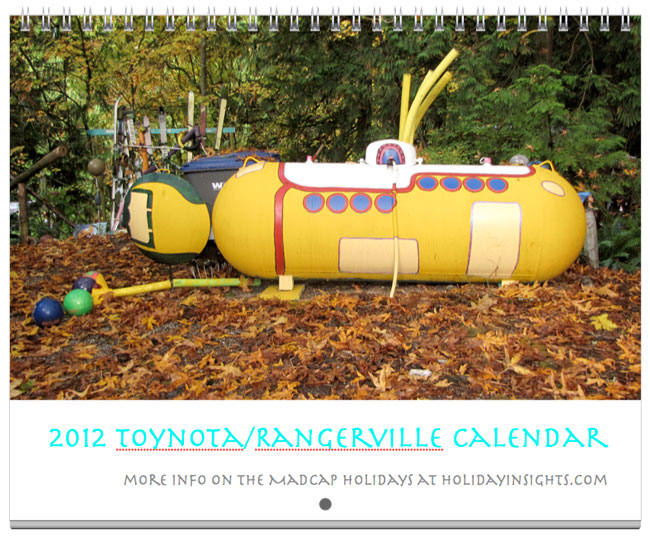
2012 Toynota/Rangerville Calendar |
 |
I wish I could send each and every one of you a copy of the 2012 Toynota/Rangerville Calendar. Alas, that's simply not possible. However, I thought the next best thing would be to make it as easy as I could for my friends to be able to print one or more for themselves.
Using the instructions below it's easy to download and print the calendars on your own printer. Or, load the file onto a USB drive or CD to take to a print shop along with these instructions.
First, take a look at the photo pages, shown below, to decide if you want one on your wall or to give as a gift. In addition to the photos, this year's calendar has many non-standard holidays. More info on any of these wacky holidays may be found at this link to the HolidayInsights.com website.
If you decide you do want a Toynota/Rangerville Calendar of your own, then click on the pdf link graphic below the slideshow to download a pdf file containing all the photo and month pages. Beneath the pdf link is a detailed explanation of how to print your calendar pages so they come out right. It's easy to do. Enjoy!
To get a closeup view of any individual month photo, click on the thumbnail picture shown on the left side.